
We’ve been writing about chocolate here for at least 6 years. It’s a health food. And it is delicious.
And there was a huge problem in making it because sweeteners (sugars) are water soluble while chocolate is an oil, and we should all know that water and oil don’t mix. One method we used to use was to allow the chocolate concoction to cool down. The thicker it is the more it will hold in sweeteners. However, your end product melts quickly and has a crunch because of the sweeteners.
Today we are going to teach you how to make chocolate in your kitchen that comes out looking, feeling, and tasting like it was made by a chocolatier. In fact, we will make you into a chocolatier.
First off, we’ve thrown out all our cacao powder. It’s just too processed, and at one site where I’ve learned quite a bit about making chocolate, someone asked the chocolate guru there if they could use cacao powder and cacao butter instead of the ingredients recommended, and he responded, “Are you fucking kidding me?”
The first chocolate we’ll make uses baked chocolate nibs and BochaSweet only [the link is to our affiliate program]. Notice no cacao butter, and that’s because chocolate nibs are about 50% cacao butter. The nibs we purchased were 60% cacao butter. (And were fair trade and organic. 60% of commercial chocolate in the US comes from slavery, which isn’t sweet.)
Now for the Bad News
Making the perfect chocolate bar is going to cost you a bunch. You need the proper equipment. First you’ll need a melanger, then you’ll need a chocolate melting pot. Forget the double boiler you’ve been using. One reason is the humidity. If any amount of water gets into your chocolate, you’ll make chocolate sludge. You can use it in your baking, or add more water and make a chocolate syrup, but it will never turn into a chocolate bar.
Perfect chocolate bars require tempering. And we’ll teach you how to do that.
Additionally you’ll need a digital thermometer (we found a good meat thermometer) chocolate molds, and a blow dryer. Also you’ll need shish kabob skewers (to stir the chocolate). Our Amazon links are from our affiliate program. Amazon carries a few melanger, but we went directly to the company and bought the one in the image below. It’s big with fewer plastic parts. We don’t have an affiliate program for this melanger, but we highly recommend it. And right now it’s on sale.
Equipment Needed
First there is the melanger (our affiliate link). In our article Why it is Impossible to Sweeten Chocolate we tell you that sweeteners/sugars are water soluble and chocolate is oil and we all know oil and water don’t mix. Thus the melanger, which will make your ingredients homogenized. It’s that simple (but costly).
This machine makes the chocolate by grinding stone wheels over a stone base. You will run this for at least 24 hours. It’s what makes your sweetener, nibs, and additional ingredients into an homogenous substance. You won’t feel the crunch of the sweetener. You’ll get just a very smooth chocolate that you can eat right away. You can put it into molds, refrigerate and enjoy.

However, your chocolate is not yet tempered and you’ll find will melt easily. You’ll also notice that the “snap” is missing. When you buy a chocolate bar, if you break it in half, you’ll feel a snap. That snap comes about only after the chocolate is tempered.
This particular melanger is on sale right now, and I think shipping is free. This is the best table-top version they have with the fewest plastic parts. When you get it, follow the instructions for the initial cleaning (oil and sugar). Then dry it well. We purchased a blow dryer to do this, and you’ll also need the blow dryer for making the chocolate as you’ll see later.
There are all sorts of videos to watch for cleaning and using your melanger linked from the site manufacturing this, or just go to YouTube and search for them. And the people at the site where you can buy this are very, very helpful.
While experimenting and posting things on Facebook, a friend told me she had this particular melanger and loved it. However if you cannot afford this one, you can use our links (click on the image) to purchase one on Amazon and you’ll be supporting our work here. The link t the Premier company is not an affiliate link.
Next you’ll need a chocolate melting/tempering device and this is the one we got from Amazon.

We chose this one because the temperatures are measured in Fahrenheit. But always remember that just because you’ve set the dial to 86 degrees, human designed machines are not that accurate. You’re going to have to stir and measure, stir and measure, stir and measure, etc etc etc.
When stirring, use a shish kabob skewer, because wood doesn’t affect the temperature. Cooling can be done in the fridge, for about ten – fifteen minutes, and you can even open the fridge and stir occasionally.
If you just let it sit at room temp, it takes over half an hour to cool. Never put your tiny pot in ice water or in the freezer. The chocolate won’t cool properly and it will harden on the bottom and sides.

Baked/roasted nibs are your best choice unless you just love more work.
And it’s best to warm the nibs and the melanger to start. If the recipe calls for cacao butter, it’s better to melt that before adding it to the melanger.
So, steps one and two are as follows:
- Set your oven to the lowest heat (mine is 170) place the baked nibs in a steel bowl, and put an oven/meat thermometer inside. Heat to 120 degrees tops. If using cacao butter, you can melt that in the oven at the same time, or use your chocolate machine.
- Heat your melanger with the blow dryer. The temp recommended is 150 degrees.
How to Choose Nibs
Because much of the chocolate in the world comes from slavery, I chose fair trade (direct trad) nibs. I chose baked nibs because of the aroma, and I didn’t want to have to bake my own. Lousy nibs make lousy chocolate, so I studied the Chocolate Alchemy site for weeks before ordering. These were the nibs I chose: https://shop.chocolatealchemy.com/products/peru-ucayali-direct-trade
From the Experts

If you’re going to make chocolate frequently, you don’t have to clean the melanger. Just cover and put away. And keep everything away from water. Water destroys chocolate (unless you’re going to make a chocolate sauce.) Then when you want to use the melanger again, you’ll heat it up with your blow dryer and bingo, you’re ready to go. Just make sure the rollers are touching the bottom of the melanger, and not bouncing over the hard chocolate stuck to the bottom. Use your blow dryer to melt everything and let it run long enough to prove there’s nothing unmelted inside, that the stone wheels are really connecting to the stone bottom.

Another thing they’ll tell you is: you are going to make a mess. Chocolate will get everywhere. I’m using, as you can see in this image, a kebab skewer to stir. It’s best to use wood because there’s no heat transfer. While cooling, you don’t have to stir very much but when warming it up again in the tempering process, you must stir. The bottom and edges get warmer first and you want to keep the temperature even.
Tempering is the most work you’ll have to do. This is what creates the “V” crystals chocolatiers talk about. You see, the concoction you pour out of your melanger is great chocolate. It’s edible right then and there. But if you pour that into a mold, what you get is a wimpy bar. It melts easily, even at room temp, and it doesn’t have that “snap.”
When you buy a chocolate bar and break it in half, it has a snap to it. Tempering is how you get that snap.
The Process
First weigh everything out on a good kitchen scale. Your nibs go into a steel bowl which you put into your oven on as low a temp as possible. Mine is 170° Fahrenheit. Put a meat thermometer in it. You just have to get it warm, or above 100° and less than 120°. When that’s about ready, you’ll want to use your blow dryer and heat your melanger up to about 150°. It is much easier to grind the nibs at that temperature.

You’ll add the nibs slowly, just about half a cup at a time. You’ll need that blow dryer ready, on low so you don’t blow the crushed nibs all over your kitchen, but you’ll need it because as the nibs turn into a think sludge that will try to crawl out of your melanger. You can turn up the speed on your blow dryer when it’s all ground up and thick. This really helps.
If you pour in your nibs too fast, your melanger can freeze up. In that case, just remove the ground up mess, store it in a bowl, put your melanger back together and make sure the rollers are touching the bottom of the melanger and start again, adding the partially ground nibs first. And slower this time. You’ll notice that when you add your sugar or milk powder, the concoction thickens, and this should inform you as to the speed to add these things. Some people let the nibs grind up alone for a couple of hours before adding the sugar.
Once you’re convinced your concoction isn’t going to creep up over the edges of your melanger, it’s time to add the milk powder and sweetener. Oh, if your recipe calls for Cacao Butter, it’s best to melt that first in your chocolate machine and pour that in first or while pouring in the nibs . This helps keep the nibs sludge from getting out of control too.
You will pour in your sweetener (powdered whole milk, if making milk chocolate) in a continuous, but slow process.
Then cover and let it go for at least 24 hours (if using a powdered sweetener) or for 48 hours if using a granular sweetener.
Again, we use only BochaSweet in our chocolate.
Should Something To Wrong
Be prepared.
If you pour the nibs in too fast or add the sweetener/milk powder before your chocolate is ready to receive it, your melanger can freeze up. At this point you have to take it all apart, scoop out your partially crushed nibs and save in a bowl. Clean the bottom with the scraper provided, put everything back together, and then slowly add the partially crushed nibs, use the blow dryer in between scoops at times, and just watch what you’re doing. Things can go wrong, just learn from your mistakes.
Tempering
Actually, I should say “to temper or not to temper,” that is the hard part.
Tempering makes your chocolate stronger, and won’t melt in your pocket like a Snicker bar will. However, if you don’t temper, and place your molds in a fridge, they come out nicely. Just not hard with that snap.
It’s totally up to you.
Directions
Remove the top from the melanger. You can take the rollers and put them on top upside down while scraping off the chocolate. Then put them aside and fill the tiny pots on your Chocolate Machine, but not to the top. You’ll be stirring a lot, so leave room.
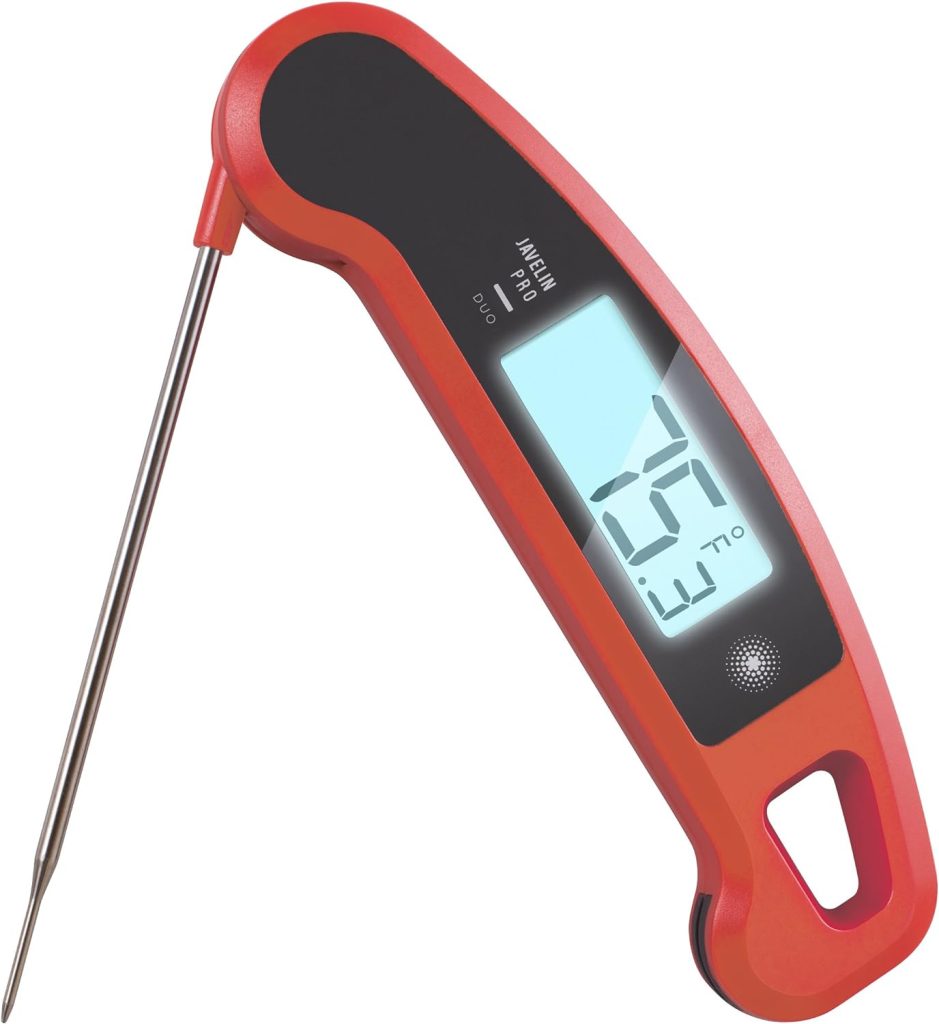
And you’ll be testing the the temperature a lot, and not just in one place. Stir it with the thermometer to get a good average. The image on the right is the one we got from Amazon and it works very nicely.
Tempering means, heating, cooling, then warming to the molding temperature.
The first part is done by your melanger. Every time we poured our chocolate into the tiny pots the temperature was already at the “melting” levels.
Here are the three temperatures for the two types of chocolate you’ll make (milk and dark).
| Type | Melting | Cooling | Molding |
| Dark | 100 – 105 F | 79 – 81 F | 87 – 89 F |
| Milk | 100 – 105 F | 78 – 80 F | 83 – 86 F |
Just pour your chocolate into your tiny pans and measure the temp. It should be over 100° F already and you can just start the cooling phase stirring occasionally.
Your First Two Recipes
This first one is just simple. You already know the steps above, you know where to get the best baked nibs (baked are easiest to work with because all the hard work has been done for you).
- 2.5 lb baked nibs
- 15 oz powdered BochaSweet (or powdered sugar)
Remember: Warm the nibs, heat the melanger, pour the nibs in half a cup at a time, then add sugar.
Milk Chocolate
- 1.5 lb baked nibs
- 1.5 lb cacao butter
- 1.5 lb powdered whole milk
- 1.5 lb (1 lb for less sweet) powdered BochaSweet (or powdered sugar)
Editor’s Note: We’ve decided that 1 lb of BochaSweet is best for this recipe. It’s sweet but not too sweet.
Melt the cacao butter, warm the nibs (as in the first recipe, above), pour in the butter first, slowly add your nibs (have that blow dryer ready), add the powdered milk (in one slow process), add the sugar/BochaSweet (in a slow process).
And you can wait between stages to make sure you’ve got a good concoction going.
Editor’s Note: some people have milk issues, and so we are about to experiment and make this same recipe using coconut milk powder. You will only find something here about that if it doesn’t work out. If you don’t find anything about our experiment, then you may assume it went well.
That’s It
So good luck, have fun, and make a mess! All the links to the products above go to our affiliate program with Amazon, except of course for the Chocolate Alchemist and the 10 lb Melanger. And if we find a good recipe or learn some tricks, we’ll be back to up date this. In fact, you might want to check with our Facebook Page once in a while.
And please, make sure your chocolate is Fair Trade. Slavery is not sweet.
P.S. If you’ve noticed a bit of repetition, blame it on the retired educator in me. Repetition leads to learning.
And take a look at the bottom of this page. We’ll be adding chocolate candy recipes.
A Bit of Humor
Your author takes medical marijuana for PTSD. I wrote this short piece about: Making Edibles. Additionally, for veterans, we make a shroom chocolate too.


